Most Travelers Dread Airport Security-These 7 Pro Tips Make It A Breeze

Have You Booked Your Next Flight But Are Not Sure How To Breeze Through Security At The Airport? Keep Reading To Find Out!
So, what are some pro tips to breeze through airport security?
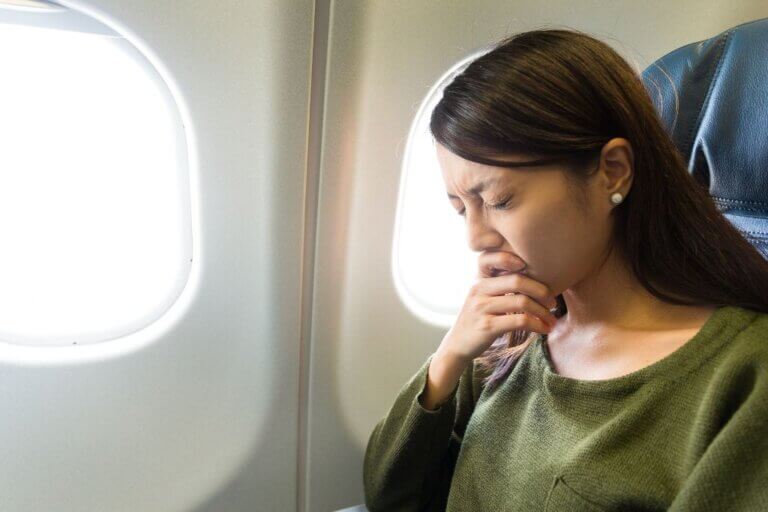
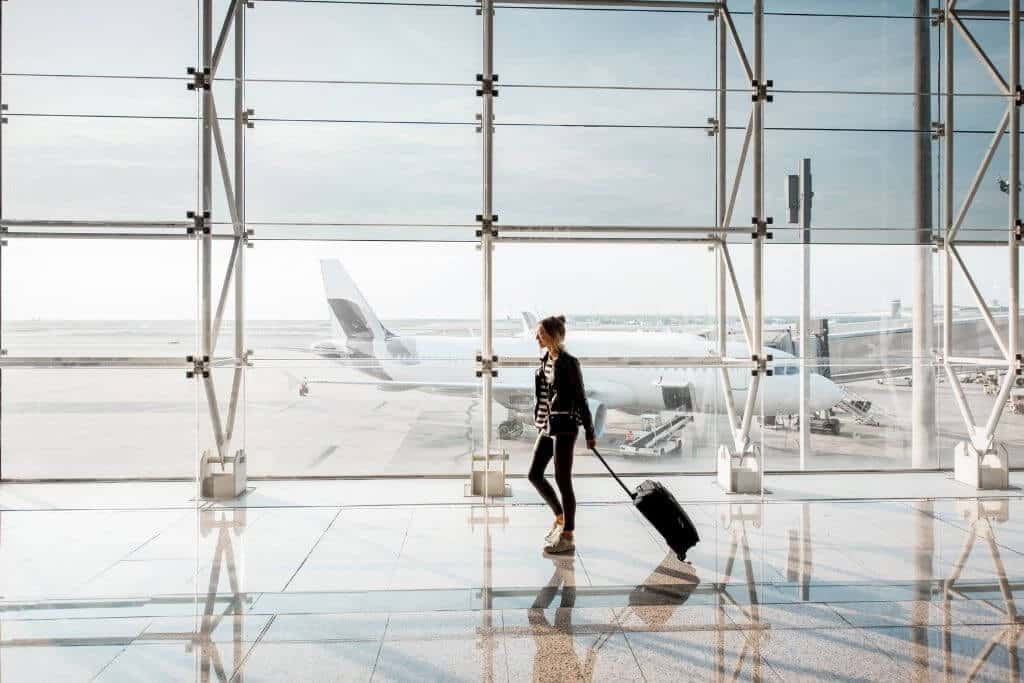
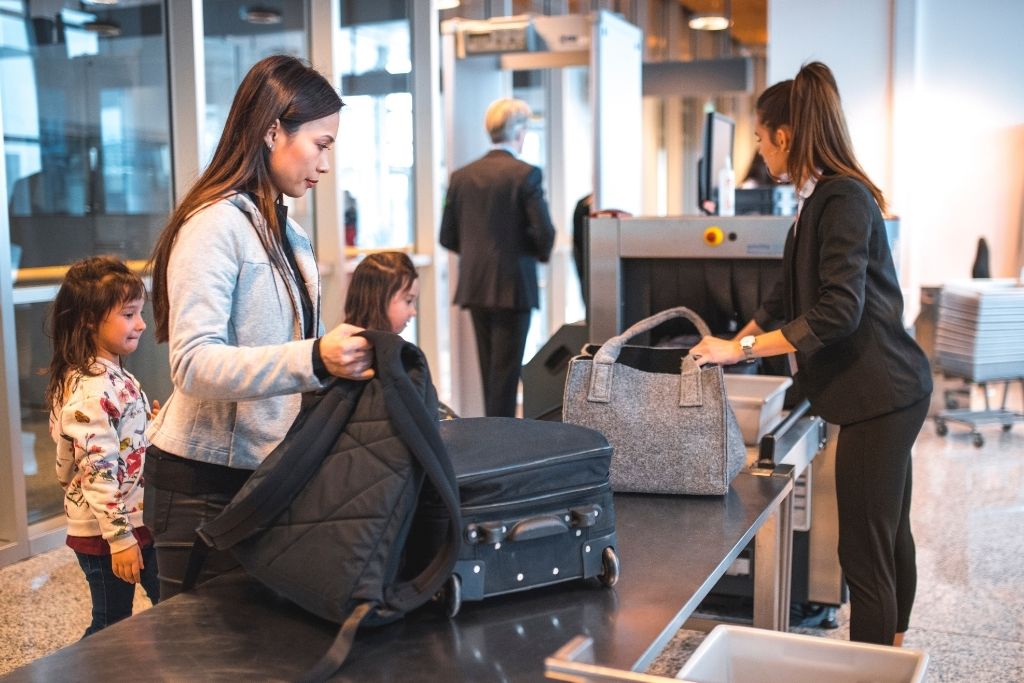
Let’s be real—airport security is no one’s favorite part of travel.
Long lines, confusing rules, and the constant shuffle of removing shoes and laptops can turn even the most exciting trip into a stressful one.
But what if it didn’t have to be that way?
Most travellers dread airport security, but with a few smart tips, you can glide through like a seasoned pro.
Whether you’re a first-time flyer or a frequent traveller, these 7 tried-and-true tips will help you save time, reduce stress, and maybe even enjoy the process (yes, really!).
Ready to level up your airport game? Let’s dive in.
Recommended Resources:
✈️ Cheapest Flights
🏢 Hotels
🚘 Car Rental
🚖 Airport Taxi Transfer
🩹 Travel Insurance
💧 Water Bottle
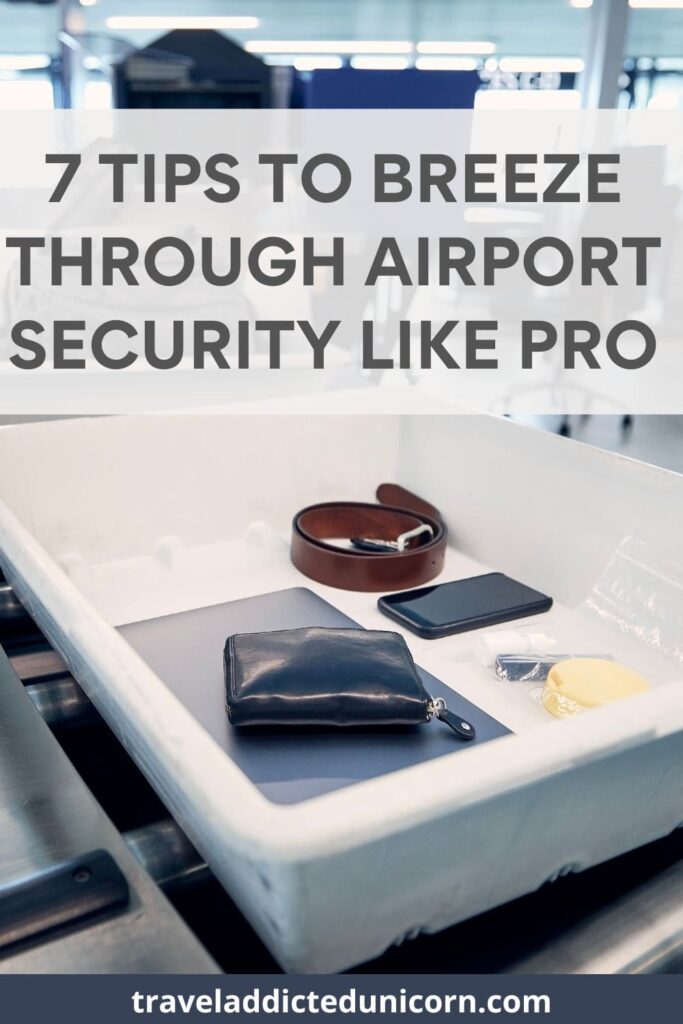
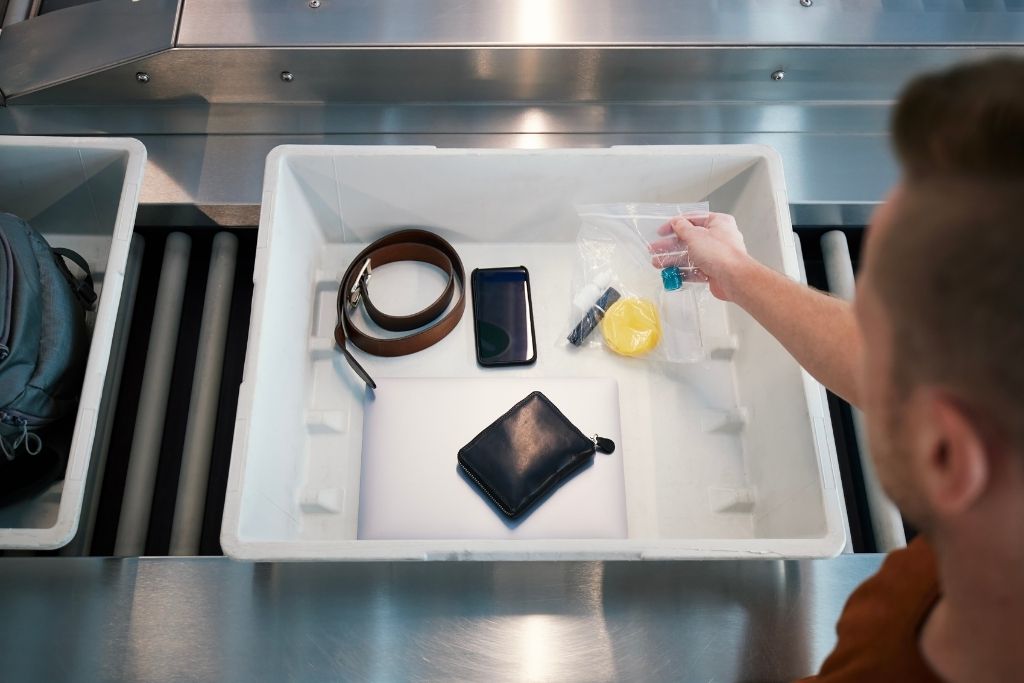
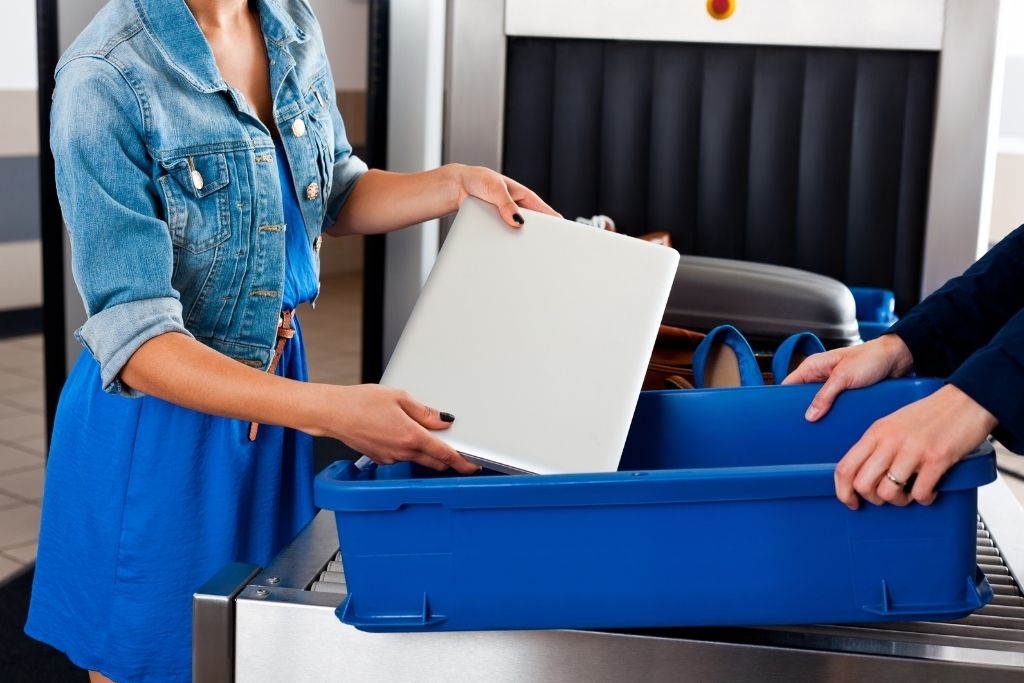
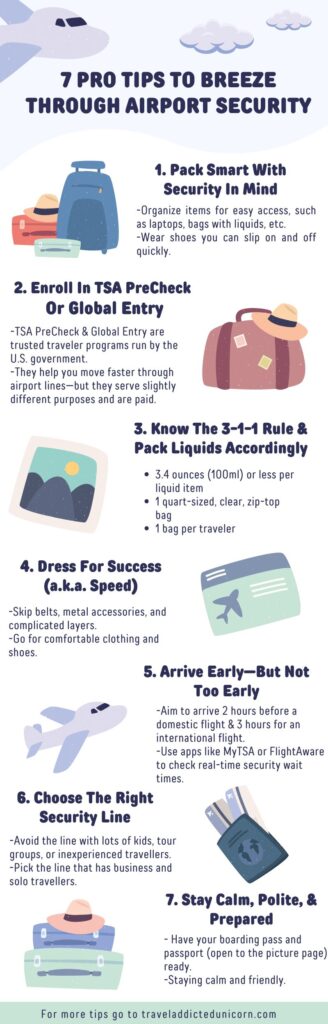
1. Pack Smart With Security In Mind
The smarter your packing, the easier your security experience.
Start with organizing your carry-on so that electronics (like laptops and tablets), liquids, and other must-remove items are easy to access.
Your laptop always goes into a separate bin.
Also, use packing cubes to separate your belongings and place security-sensitive items on top.
Avoid overpacking, which not only makes it harder to find what you need but may also require your bag to be searched or repacked at security.
💡 Example: Pack your laptop in a dedicated sleeve near the top of your bag. Use a clear, TSA-approved toiletry bag for your liquids and place it in an outer pocket so you’re not digging through socks and snacks at the checkpoint.
🔁 Pro Tip: Skip the hassle by wearing shoes you can slip on and off quickly—leave the lace-up boots for your destination.
2. Enroll In TSA PreCheck Or Global Entry
If you fly more than a couple of times a year, this is a game-changer.
Both TSA PreCheck and Global Entry are trusted traveller programs run by the U.S. government, and they help you move faster through airport lines—but they serve slightly different purposes.
TSA PreCheck
Best for: Faster security screening within the U.S.
- Use: When departing from U.S. airports (on domestic or international flights).
- Perks:
- Keep your shoes, belt, and light jacket on
- Laptops and liquids stay in your bag
- Shorter, faster-moving security lines
- Cost: $78 (valid for 5 years); the renewal fee is $70
- Application Process: Online form + quick in-person interview at an enrollment center
- Kids under 12: Can use PreCheck with a parent/guardian who has it
Global Entry
Best for: Faster re-entry to the U.S. from international destinations
- Includes: TSA PreCheck benefits at no extra cost!
- Use: At U.S. Customs when flying into the U.S. from another country
- Perks:
- Skip the customs line using a kiosk or app
- Speedier passport control process
- Includes all TSA PreCheck perks for domestic travel
- Cost: $120 (valid for 5 years)
- Application Process: More detailed online form + interview at select enrollment centers, usually at major international airports
- If you only travel within the U.S., TSA PreCheck is all you need.
- If you travel internationally, get Global Entry—it includes PreCheck and makes re-entering the U.S. way faster.
💡 Example: While the regular security line snakes through dozens of travellers, the PreCheck line might have just a few people, and you’ll breeze through in minutes.
💲 Cost: $78 for TSA PreCheck (valid for 5 years) or $120 for Global Entry. Also, many travel credit cards cover the application fee.
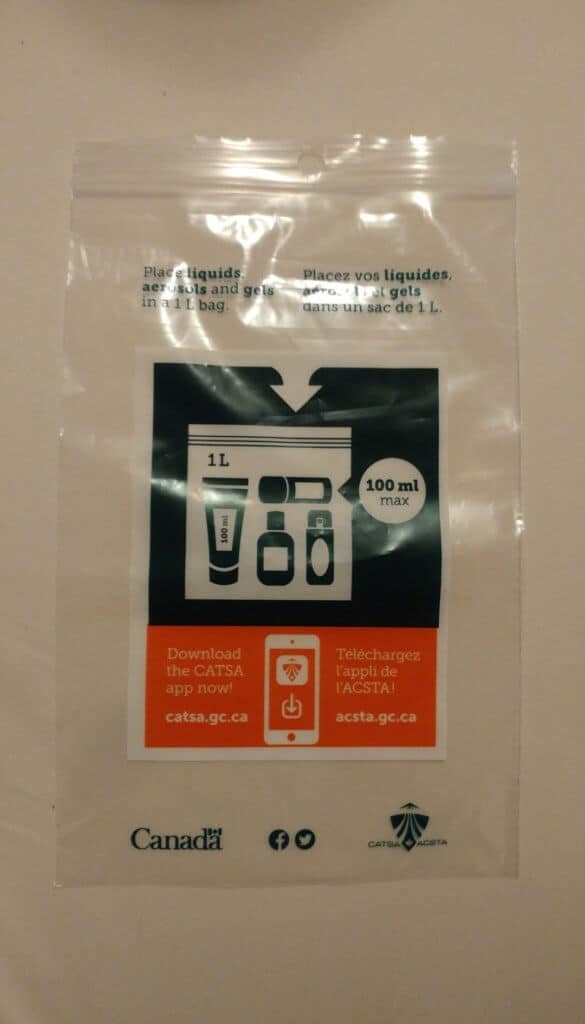
3. Know The 3-1-1 Rule And Pack Liquids Accordingly
Nothing slows down a security line like a bag search triggered by a full-size shampoo bottle.
Also, security delays often happen because travellers misjudge what counts as a liquid.
It’s not just drinks and lotions—gels, aerosols, creams, pastes, and even some foods count.
Peanut butter, yogurt, snow globes, and even certain makeup products (like liquid foundation) fall under the 3-1-1 rule.
Sometimes they will ask you to show them your liquids bag, if you have any.
The TSA’s 3-1-1 rule means:
- 3.4 ounces (100ml) or less per liquid item
- 1 quart-sized, clear, zip-top bag
- 1 bag per traveller
If you bring toiletries in your carry-on, please ensure they are the correct size, otherwise, they will be confiscated and thrown away.
I literally see this all the time, where people have a 2-litre shampoo bottle in their carry-on and are confused as to why it gets taken away.
Most airports have see-through plastic bags where you can put your liquids that go into your carry-on.
There is no exception to the above rules, so make sure you follow them.
Bigger liquids, aerosols, and gels can go in your checked-in luggage; there are no restrictions on those.
In addition, ensure your water bottle is empty. You can fill it up once you pass security.
💡 Example: Travel-size toiletries or solid alternatives (like a bar of soap or shampoo) are your best friend here. Invest in solid sunscreen sticks, deodorant bars, toothpaste tablets, and laundry sheets. These not only reduce liquid volume but are also eco-friendly and spill-proof.
✈️ Bonus Tip: Don’t try to sneak in half-used larger bottles. TSA cares about container size, not how much is inside.
👉 If you prefer drinking water through a filter, grab your LARQ Bottle. The Nano Zero Filter technology removes lead, heavy metals, chlorine, microplastics, and other particulates in the water.
4. Dress For Success (a.k.a. Speed)
Skip belts, metal accessories, and complicated layers. Go for comfortable clothing and minimal metal to avoid unnecessary pat-downs or alarms.
Make sure you check the airport’s list of prohibited items before you go.
Don’t forget to empty your pockets (yup, all of them!) and take off your belt (if you choose to wear one).
Sometimes you will need to take off your shoes, hat and jacket/sweater as well.
💡 Example: Think athleisure or business casual—joggers, a zip-up hoodie, and slip-on sneakers will save time and effort. Avoid wearing a lot of jewelry, or remove it before arriving at security.
👜 Also smart: Empty your pockets and put everything into a small pouch or your carry-on ahead of time to avoid juggling coins, keys, and phones in the bin line.
🦄 Related airport posts:
The 7 Step Airport Prep Checklist Frequent Travelers Swear By
7 Things To Do If Your Flight Is Delayed
7 Pro Tips For Sleeping On Long-Haul Flights
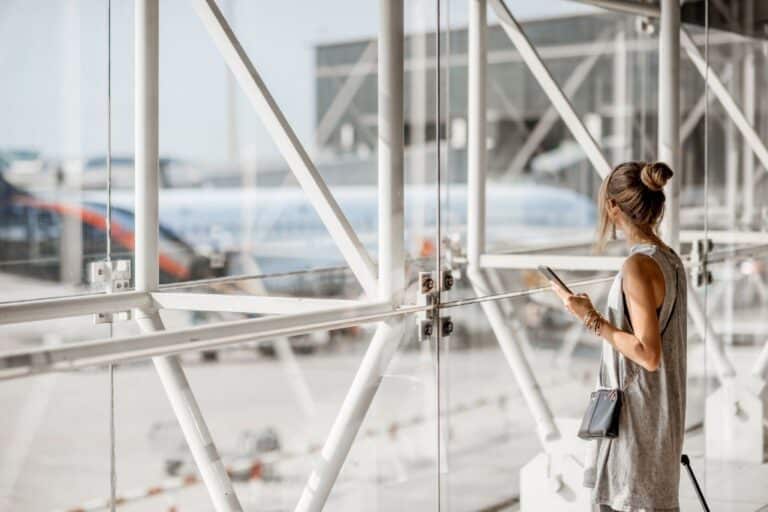
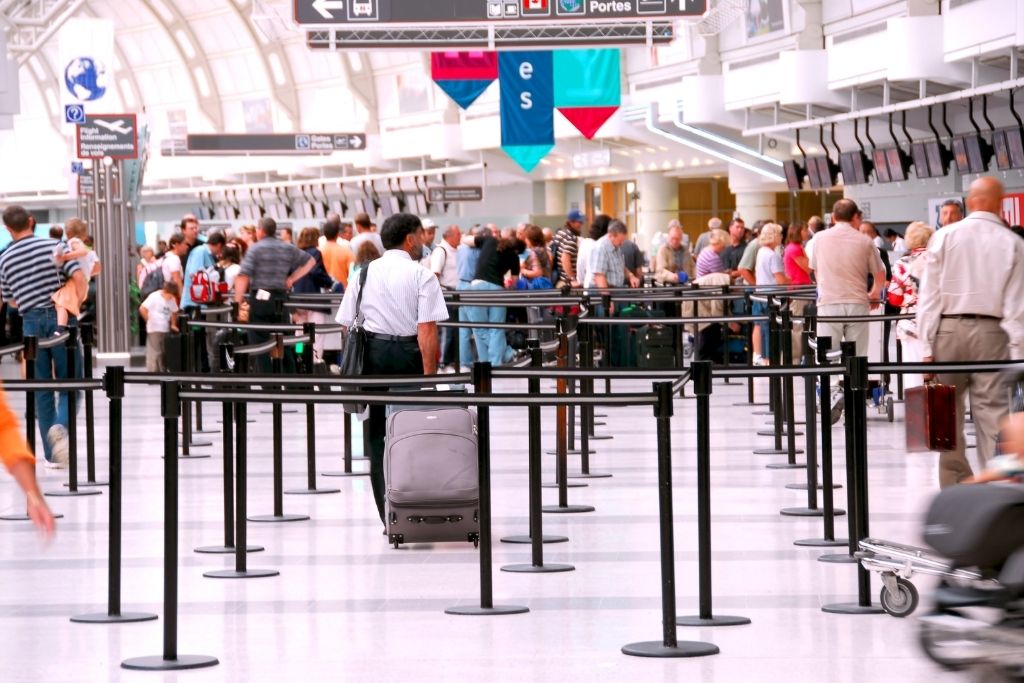
5. Arrive Early, But Not Too Early
Timing is everything!
Aim to arrive 2 hours before a domestic flight and 3 hours before an international flight.
Use apps like MyTSA or FlightAware to check real-time security wait times.
The actual security check doesn’t take too long to do, but waiting in line is usually what takes a lot of time.
I’ve had to wait sometimes for a few hours to get through.
It really depends on the size of the airport you are in and if you are alone or with other people who need assistance.
💡 Example: Early morning flights usually have shorter lines, while peak times (like Fridays and holiday weekends) can get hectic fast. Know your airport’s busy hours—some even post wait times online.
📱 Download Tip: Also, some airports offer security wait time estimates via their own apps or screens at entrances.
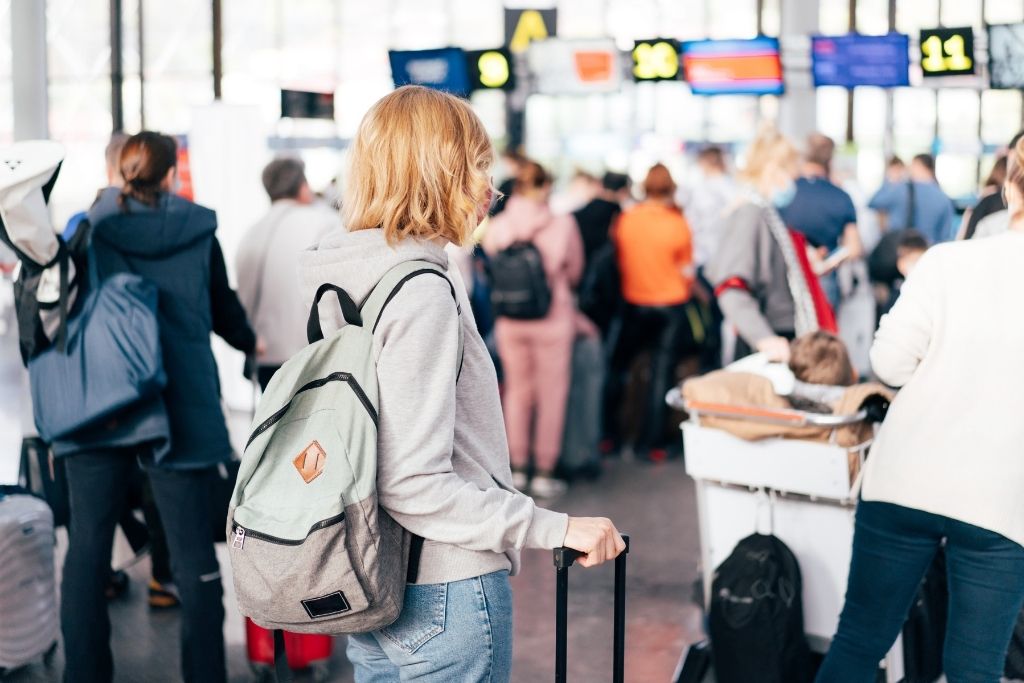
6. Choose The Right Security Line
Not all lines are created equal.
Avoid the one with lots of kids, tour groups, or inexperienced travellers if you’re in a rush.
Business and solo travellers usually move quicker since they’re familiar with the process.
💡 Example: If you see someone juggling a stroller, multiple bags, and a boarding pass in their mouth, maybe try the next line over. Go for the line with carry-on-only travellers if possible.
👀 Pro Move: Watch how quickly a line is moving before committing. Sometimes the longest-looking line is the fastest because it’s moving efficiently.
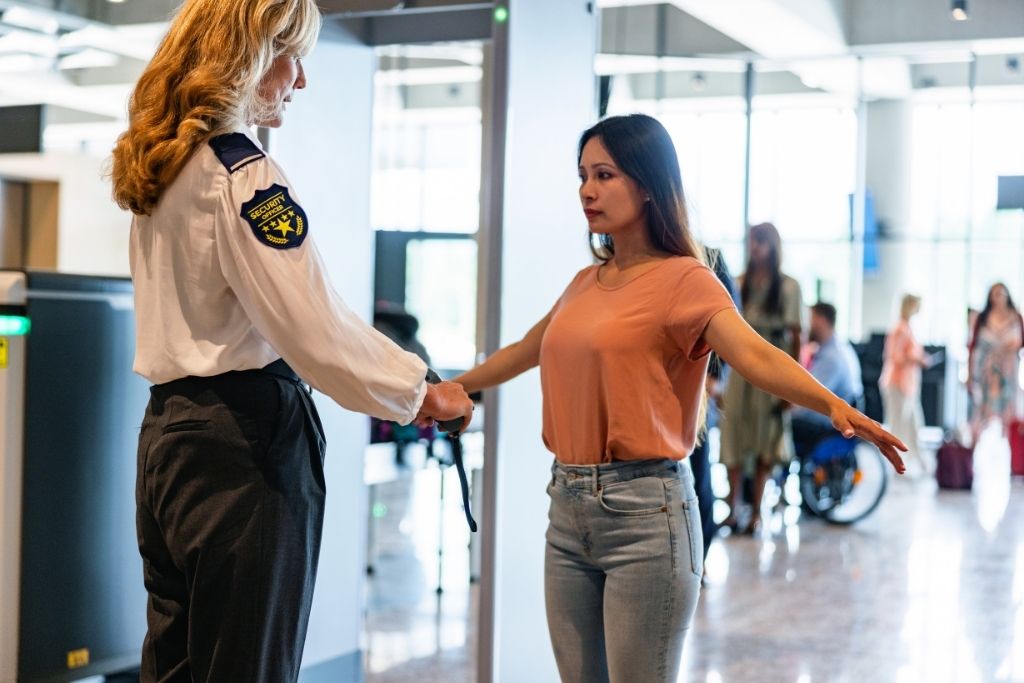
7. Stay Calm, Polite, And Prepared
Security can be frustrating, but staying calm and friendly can actually help you move faster.
Agents deal with stressed travellers all day, so being kind goes a long way.
Their job is to keep us all safe, so follow their instructions.
Sometimes they will ask you to go inside a body scanner machine, where you have to lift your hands, and it scans your body.
Alternatively, they can pat you down if you are claustrophobic.
A lot of times, they will randomly inspect your bag or ask to take samples of your fingertips/belt/hat/bag for drugs or explosives.
If they randomly select you, don’t freak out, it’s just regular procedures.
💡 Example: Have your boarding pass and passport (open to the picture page) ready. Don’t wait until you’re at the front of the line to start looking.
🌟 Bonus Tip: If you’re unsure about something, ask a TSA agent politely. They’d rather help you get it right than stop the line for a bag search.
7 Pro Tips To Breeze Through Airport Security Infographic
🦄 NEXT STEP: 7 Smart Things To Do Right After Airport Security
Wrap-Up: 7 Pro Tips To Breeze Through Airport Security
Navigating airport security doesn’t have to feel like a high-stress obstacle course.
With a little preparation and a few smart habits, you can move through the checkpoint quickly and confidently.
Leaving more time for duty-free browsing, grabbing a snack, or just relaxing before your flight.
Whether you’re a seasoned traveller or heading out on your first big adventure, these pro tips will help you travel smarter and with less hassle.
So next time you’re headed to the airport, don’t dread security—breeze right through it like a pro.